In the previous post I showed simple steps to create almost empty ASP.NET project that can be deployed to Sitecore. Now it is time to prepare a nice looking layout and couple components.
In this post I will use one of Bootstrap template and I will show how it can be implemented in Sitecore. I will split it into Layout and Components items. It is available on the GitHub inside one of my repos
So the plan is to:
- Create empty ASP.NET Web application
- Get Bootstrap Template
- Move it to Sitecore via Layout
- Split it into Layout + Components
Let’s go to work.
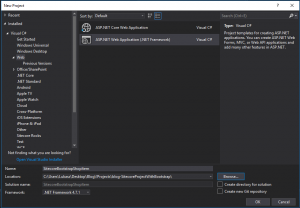
I went with new ASP.NET WebApplication, named it SitecoreBootstrapShopItem
Next step – I picked empty template – prefer to do it all from scratch to show exactly how it works
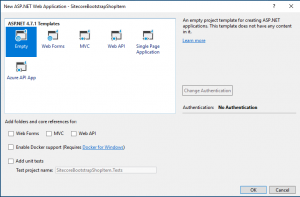
Then I went to my Sitecore Checklist available on GitHub and prepared project to be ready for Sitecore. Once it was ready I’ve pushed it into my repository
So when all preparations were done I moved to Bootstrap page and picked shop-item template.
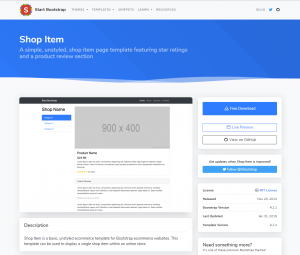
This was something that I needed. In the template there were simply to identified parts of the page like
- header (quite narrow but it’s fine),
- footer,
- navigation
- at least 2 obvious section in the main area.
So, what I wanted to do was to separate top, bottom and left side to the layout and the rest treat as region where I could add components to.
I downloaded template and opened index.html. Page is not big – just 121 lines of simple html with self-explained comments. But before I moved to preparing views inside Visual Studio I had gone back to my Sitecore Checklist and created Sitecore MVC Layout named ShopItemLayout that was pointing to: /Views/ShopItemLayout.cshtml. Sitecore had created a template of this layout so I went to this file and copied it into my project:
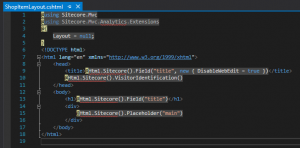
I also followed next steps from checklist and used the ShopItemLayout on the Sitecore Home page (Steps 10 & 11)
And this is how template of a Layout should be rendered:
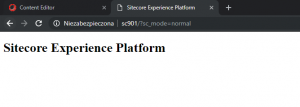
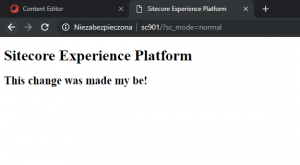
Then I added one more header to cshtml inside my project and published it. I wanted to see if my change got reflected. Basically cshtml from my project should overwrite cshtml inside IIS wwwroot folder. This is what I got
Next thing I wanted to do was to replace the content of template Layout with Bootstrap index.html content. I left top lines from the template Layout (usings and Layout definition) and below it I pasted html content with one remark – I kept `@Html.Sitecore().VisitorIdentification()` inside head html tag – it might me useful for projects in to future. After publish this is what I got
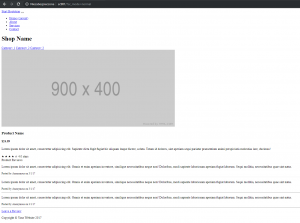
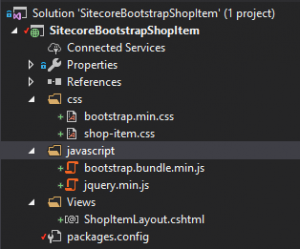
What I was missing there were styles and java scripts. I modified css paths (both bootstrap.min.css and shop-item.css should be inside css folder) and added them into the project. I did the same for javascripits (both pointed to javascript folder). Then my project looked as very simple html page:
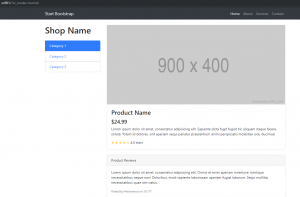
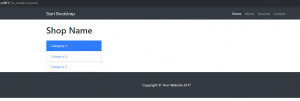
After publish the Sitecore page looked nicer – just as a template on startbootstrap.com site
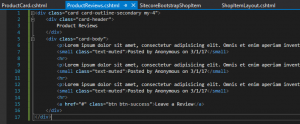
I wanted to keep top header, category section and footer inside layout. I called top component (with an image) ProductCard and one below ProductReviews. I created two new file:
- Views/ProductCard.cshtml
- Views/ProductReviews.cshtml
and moved appropriate html parts there (also removed them from ShopItemLayout.cshtml.
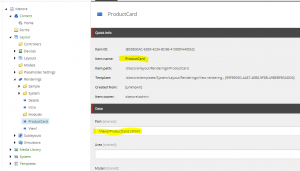
To connect new cshtml with Sitecore components I went into Sitecore dashboard and in Content editor (under /sitecore/layout/Renderings I created 2 View Renderings (ProductCard and ProductReviews) and filled their Path field with relative path to cshtml that would be deployed.
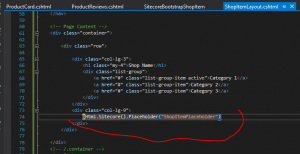
There was also needed mechanism of adding components to the page. To achieve it I added placeholder definition in ShopItemLayout.cshtml
After publish the page has changed – according to my deletion of html component parts.
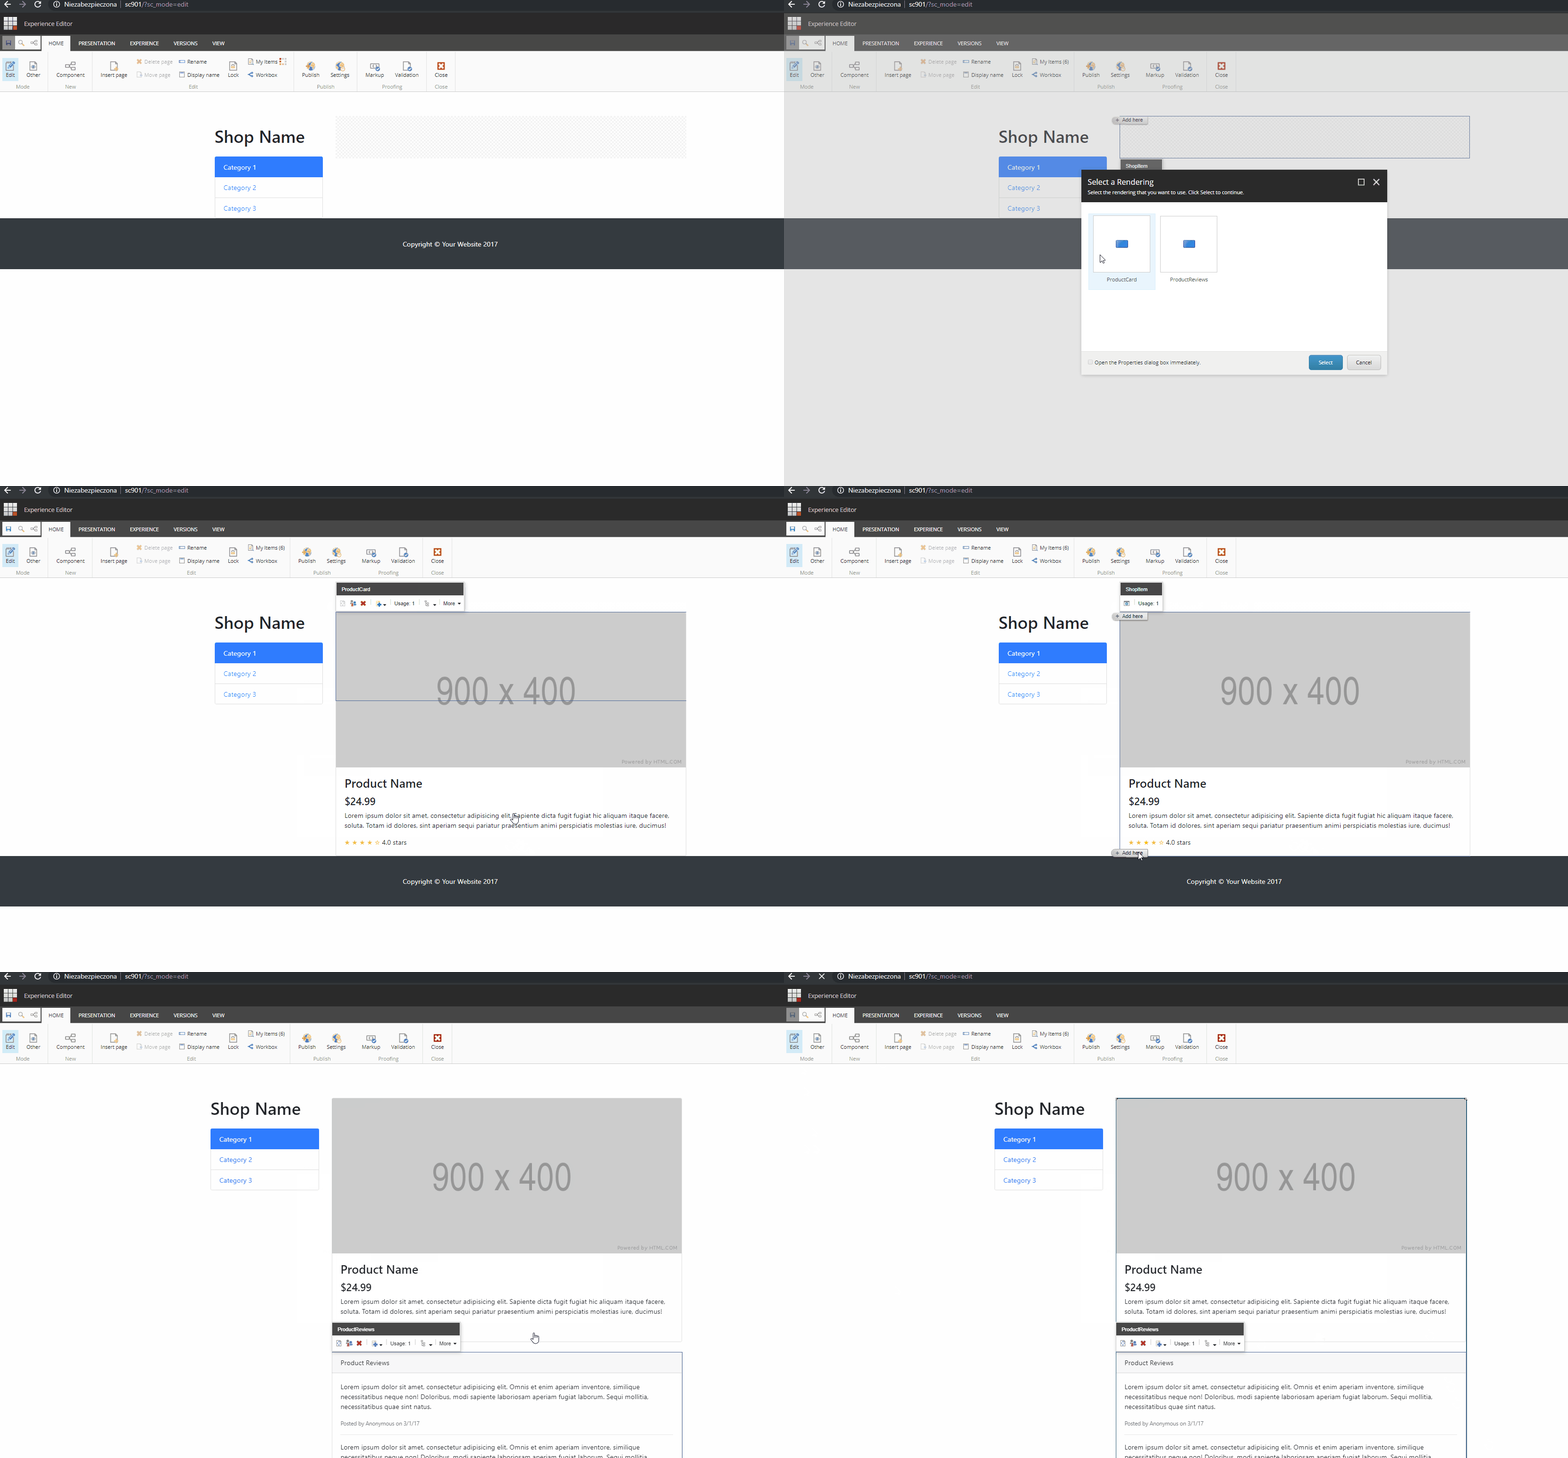
I opened the page in Experience Editor (my preferred way of doing it is to add ?sc_mdoe=edit to url). After Experience Editor loaded I was not able to see option to insert component into my placeholder. The reason for that was the there was no “link” between my cshtml placeholder definition [@Html.Sitecore().Placeholder(“ShopItemPlaceholder”)] and sitecore itself. So I went back to Content Editor and needed to add Placeholder settings for placeholder. Under layout/Placeholder Settings/sitecore/layout/Placeholder Settings I created new PlaceholderSetting called ShopItem. I filled Placeholder Key with the value: ShopItemPlaceholder – the same as in my cshtml. For Allowed Controls field I picked ProductCard and ProductReviews created earlier.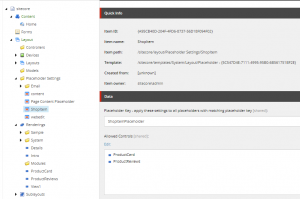
I refreshed page in Experience Editor mode, placeholder become active. I added 2 components. GIF below
Ok, and that’s all – I hope you will find it useful. All can be found on my GitHub blog-SitecoreBootstrapShopItem

